Chalk, Chalk, and more Chalk
Hello everyone, I hope you had an excellent day yesterday, I know I did! Every year my town has a festival called the Chalk Walk, and the way it works is you can by as many squares of the side walk that you want that surround all the shops and different things down town, and all the money goes to a good cause. Then pretend that you paid for one square so on the day of the Chalk Walk you could pick any square you wanted that wasn’t already drawn on and they would give you a free box of Chalk that came with your square and you could draw anything in your square and you could express your self however you felt like it and it is always so fun and it’s really great because after it’s all finished it is so pretty and colorful. So today I am going to share some of the pieces that just stick out in my mind because they’re so brilliant, and no I did not do all of these, (though they are so amazing I wish I had) these are done by local artists in are community. I did do one of these I did the pink dream catcher, so just look for that, so I hope you enjoy and please commit if your community does anything like the Chalk Walk!


~ Zoie
Prom Perfection


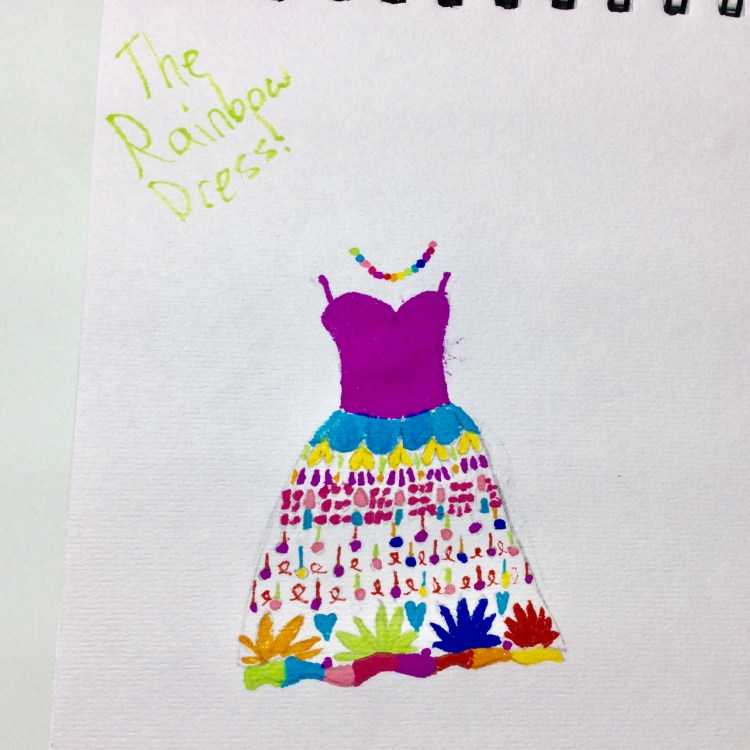
Prom is a big topic for most juniors and seniors (and people like me who tend to plan ahead even though I’m not quite there yet if you no what I mean). Anyway I wanted to show you two of my sketches that I think would be perfect for prom. The first dress is a simple but beautiful, floor length, silk violet dress that is perfect for the girls who prefer the more feminine style, paired beautifully with a rhinestone studded belt. The second is totally opposite of the first, while the last one was very simple and graceful this one is fierce and edgy but still beautiful. The second is a mint, many layered, floor length skirt with a matching mint fitted crop top and the skirt and top both with silver lining to add extra flare. At first as I have a more feminine style I thought I would like the first dress more than the second, but I am now finding that I am actually quite fond of the boldness of the second dress. Please tell me your thoughts and I hope you enjoyed. ~Zoie
DIY Ribbon Bookmark 😄
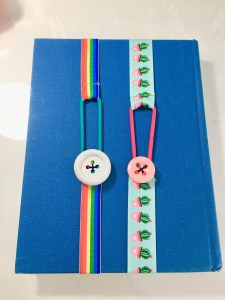
Hello everyone, today I will be showing you how to make a diy ribbon bookmark! These bookmarks are super cute and super easy to make! They make great gifts, and work great. So let get started!
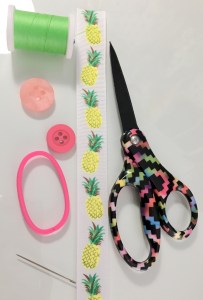
The things you will need are:
-
A piece of ribbon (I made mine 18 in. but you can make it as small or big as you like)
-
Thread 🧵
-
An elastic hair tie
-
A button
- A sewing needle
- A sewing machine (optional)
- Sewing Scissors ✂️ (for cutting thread)
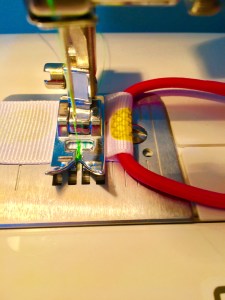
Take your ribbon and flip it over so you cannot see the pattern side any more. Then taking your elastic and loop one end of your ribbon through it. Then fold the ribbon over the elastic. Then close the gap that you made with you ribbon for the elastic by sewing it closed. I used my sewing machine for this but you can just as easily do it by hand.
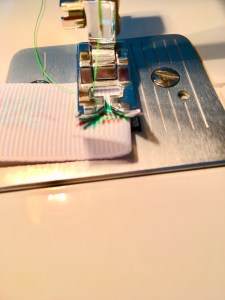
Then take the other side of the ribbon and fold it over then sew across to secure it in place.
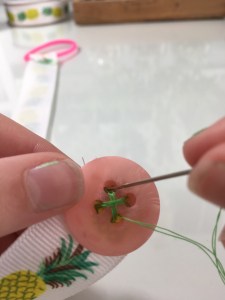
Now, take the side of the ribbon that’s not looped around the elastic, and stitch on your button, applying it to the end of the ribbon.
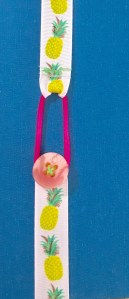
Now if you have followed all the steps correctly you should have finished making your diy ribbon bookmark. I hope you like this idea as much as I do, it’s such a fun and cute craft to do, I hope you have a great day!
~Zoie
D.I.Y. Inspiration Board
 Hello Everyone , today instead of the usual sketch, I wanted to mix it up a little bit so for today’s post I will be showing you how to make a DIY Inspiration Board! I will show you how in 4 simple steps. Now let’s get started.
What you will need:
Fashion or other magazines
Scissors
Glue stick
Markers or colored pencils
Sequins or stick on jewels
Poster board
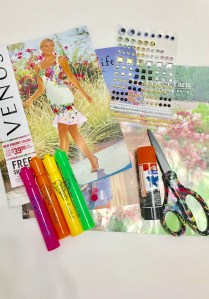
STEP 1: CUT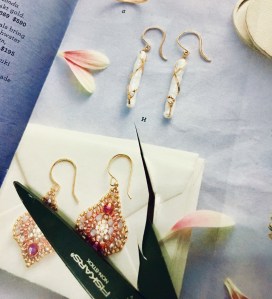
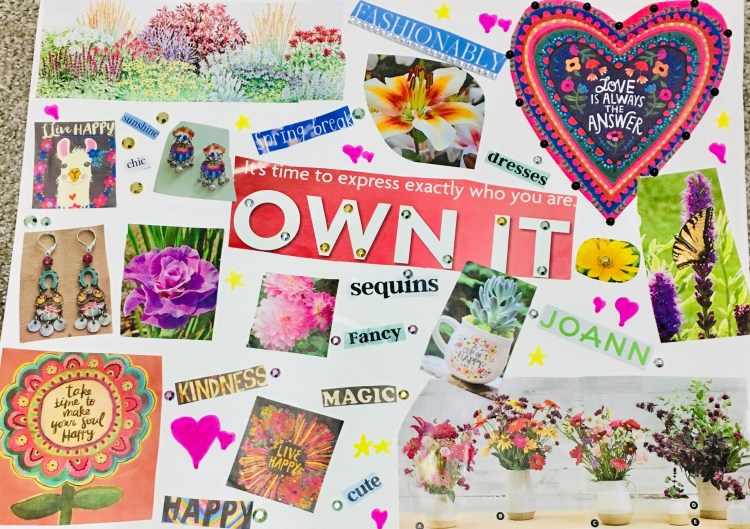
Go through magazines, or newspapers and cut out anything that inspires you, it can be words, quotes, pictures basically anything. For my board I went with a spring theme, so I cut out lots of flowers and brightly colored things but you can do whatever you like.
STEP 2: PASTE
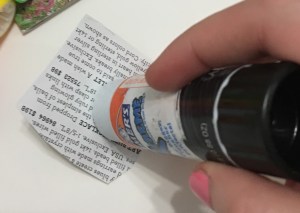
Once you have everything that you want cut out now it’s time to glue it all down. Before I start gluing I like to have a general plan of where I want everything to go on the poster board, but if you just want to wing it that’s totally your call. Then you’ll just start gluing piece by piece till everything is all pasted down on the board.
STEP 3: Bedazzle & Doodle

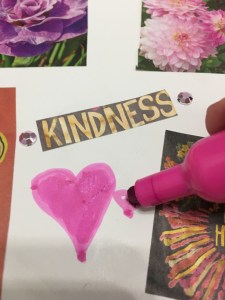
This step is pretty self explanatory, but basically you just start sticking on jewels wherever you want on the board, and you can draw and doodle whatever you want, just as long as it inspires you. This is my favorite part because you can really let your creativity soar.
STEP 4: Hang it & Enjoy
Now you should be finished, the only thing left to do is hang it up. Every time you feel uninspired, or out of ideas, just look at it and think about all the things that make you happy and that inspire you and you should get an idea.
I hope you enjoyed and I’ll see you next time!
~Zoie 😊
